Resizing changes how many pixels an image contains. Compression changes how those pixels are encoded. They solve different constraints, and a small file often requires both.
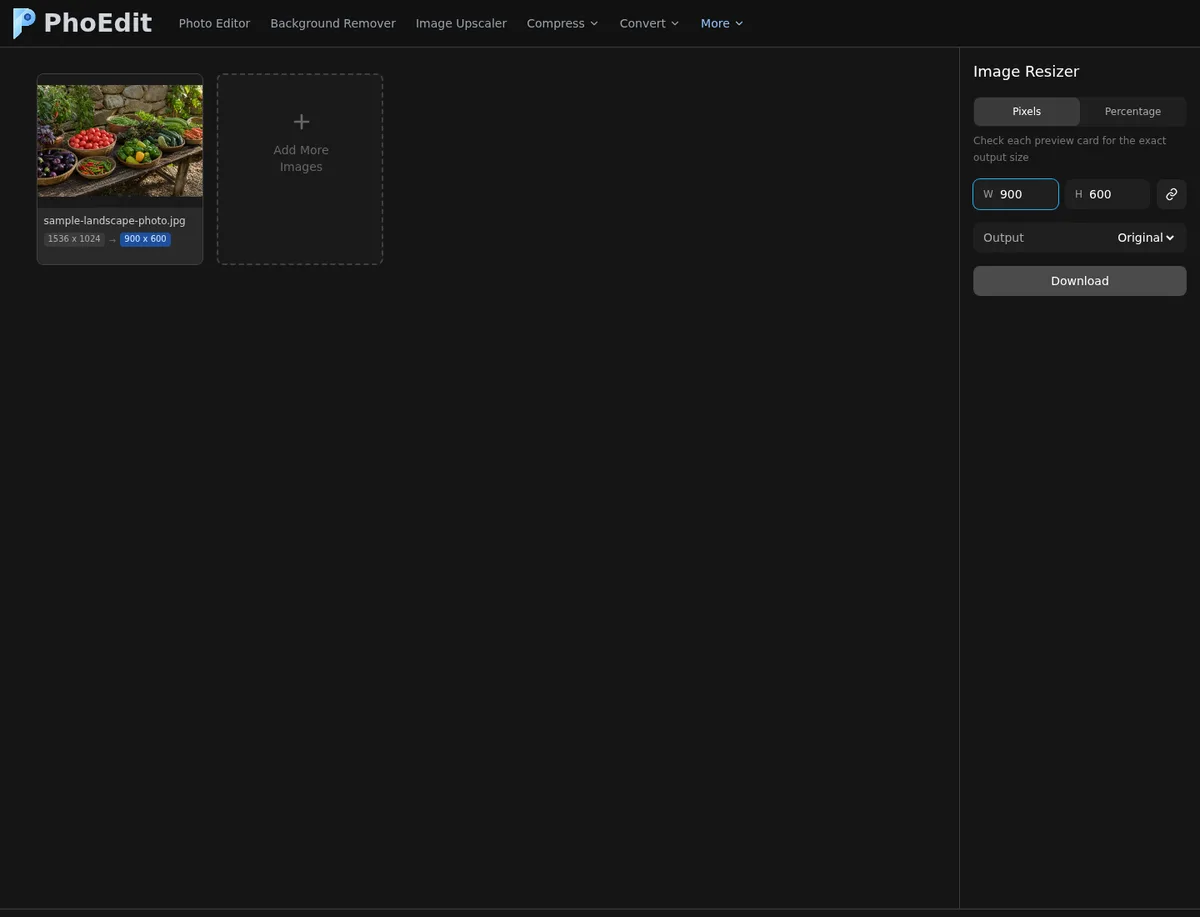
We tested one 1536×1024 JPEG photo through PhoEdit’s Resize Image and Compress Image tools. Every downloaded file was checked with ImageMagick for its format, dimensions, and byte size.
Measured comparison
| Workflow | Output dimensions | Output bytes | What changed |
|---|---|---|---|
| Original | 1536×1024 | 834,049 | Baseline |
| Resize only: width 900, ratio locked | 900×600 | 230,163 | Pixel count and JPEG encoding |
| Compress only: Medium (60) | 1536×1024 | 243,929 | Encoding quality; dimensions retained |
| Resize to 900×600, then Medium | 900×600 | 95,805 | Both dimensions and encoding |
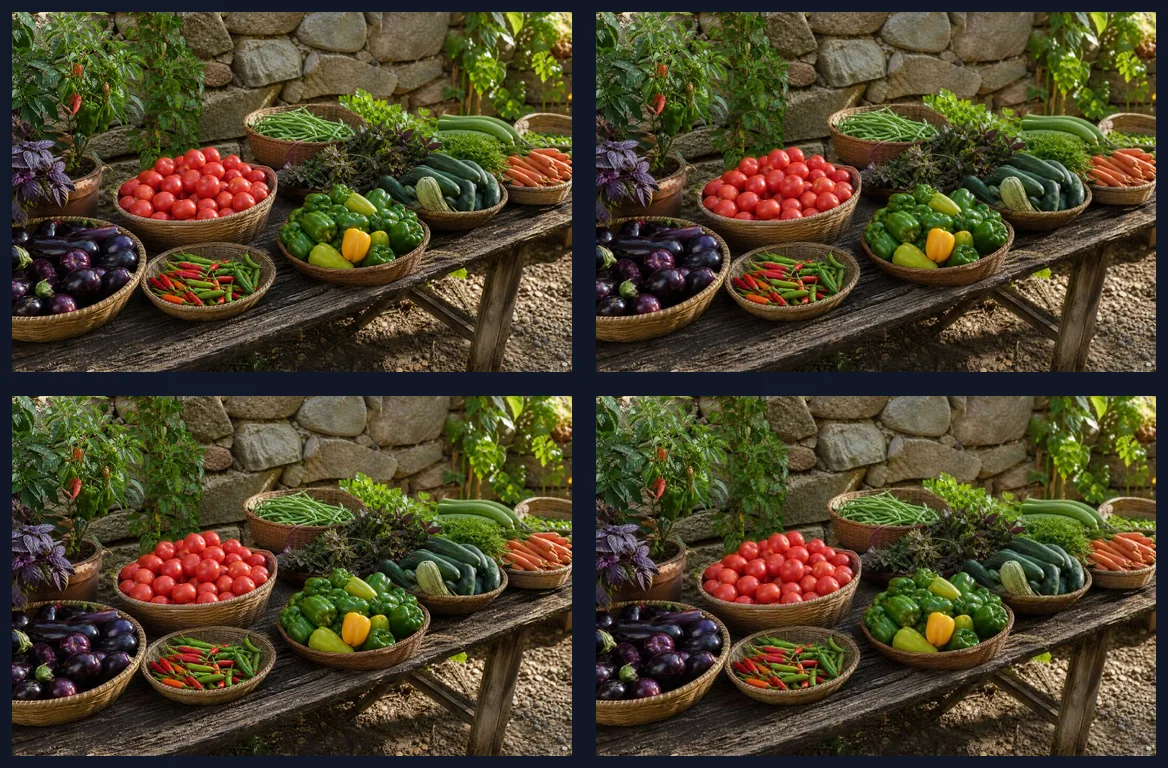
The resize-only and compress-only files happened to be similar in size, but they are not interchangeable. The compressed file still has 1536×1024 pixels; the resized file has 900×600. The combined file was the smallest of these outputs because it encoded fewer pixels at the Medium setting.
Use resize when the display dimensions are known
If a website card renders at no more than 900 pixels wide, a 4,000-pixel upload is usually unnecessary. Resizing discards pixels the destination will not show.
Steps:
- Open Resize Image.
- Upload the original.
- Keep Lock ratio enabled.
- Enter the required width. The height should update from the source aspect ratio.
- Choose the output format.
- Download and verify the exact dimensions.
Do not upscale a small image and expect genuine new detail. More output pixels can be interpolated, but missing texture, readable lettering, and focus cannot be recreated by ordinary resizing.
Use compression when the dimensions must stay
Compression is useful when a portal requires a minimum pixel width or when a high-resolution image must remain available for zooming.
Steps:
- Open Compress Image.
- Upload the original.
- Start with Medium rather than the most aggressive setting.
- Download and compare at 100% zoom.
- If a hard file-size limit applies, use Custom and verify the actual bytes.
Compression artifacts appear differently by content. Fine leaves and stone texture softened in our heavily targeted photo. Screenshots can show halos around text and flat-color boundaries sooner than a photograph.
Read the four panels in normal reading order: Original, Resize only, Compress only, then Resize + Compress.
Choosing by destination
Web page
Match the image to the largest rendered CSS size, with extra pixels only when needed for high-density displays. Then compress. Keep a larger original outside the published asset directory.
Resize to the actual reading size first. Very large dimensions can make an attachment inconvenient even when compression meets a mailbox limit.
Upload form
Read both requirements: maximum bytes and minimum or exact dimensions. Resize first only if the result will still satisfy the pixel rule. Then use target-size compression with a safety margin.
Social image
Crop to the platform’s aspect ratio before resizing. Cropping after resizing may force another resample. See Crop Ratios and Export Settings.
How to verify the output
Check the downloaded file rather than trusting the preview:
- Width and height match the intended slot.
- The aspect ratio is unchanged unless you intentionally cropped.
- The file opens and reports the expected format.
- Text, gradients, faces, and fine patterns survive at 100% zoom.
- The byte size satisfies the receiver’s definition of KB or MB.
- Transparency is still present if you selected PNG.
When the combined workflow still looks bad
Return to the original and change one variable at a time. Try a slightly larger dimension with stronger compression, or a smaller dimension with gentler compression. The better choice depends on whether the viewer needs zoom detail or a clean appearance at a fixed display size.
Avoid repeated save cycles. Resize and compress from the original master whenever possible, and keep the master untouched.