A form that says “maximum 100KB” is asking about the downloaded file, not the number shown in a compression menu. The safe workflow is therefore: set the target, download, inspect the file properties, and only then upload it to the destination.
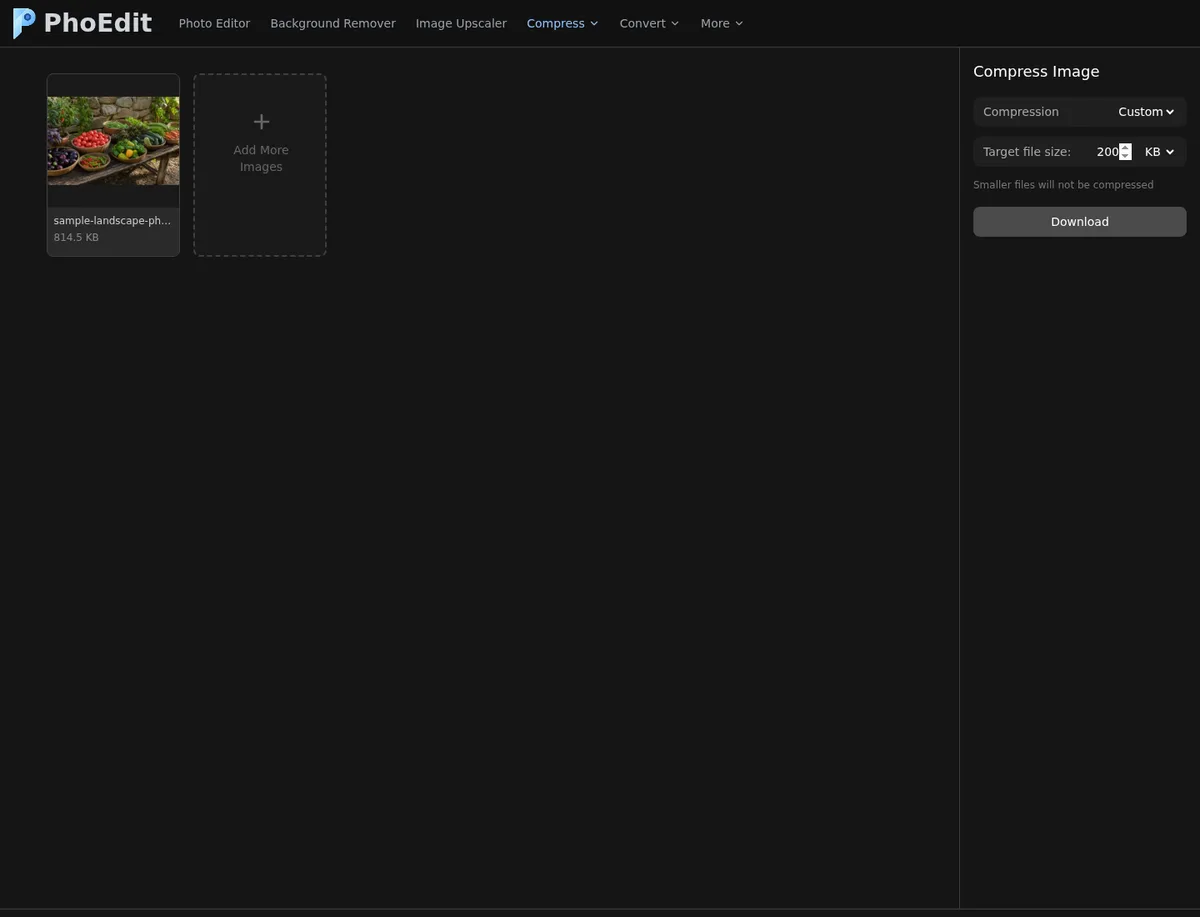
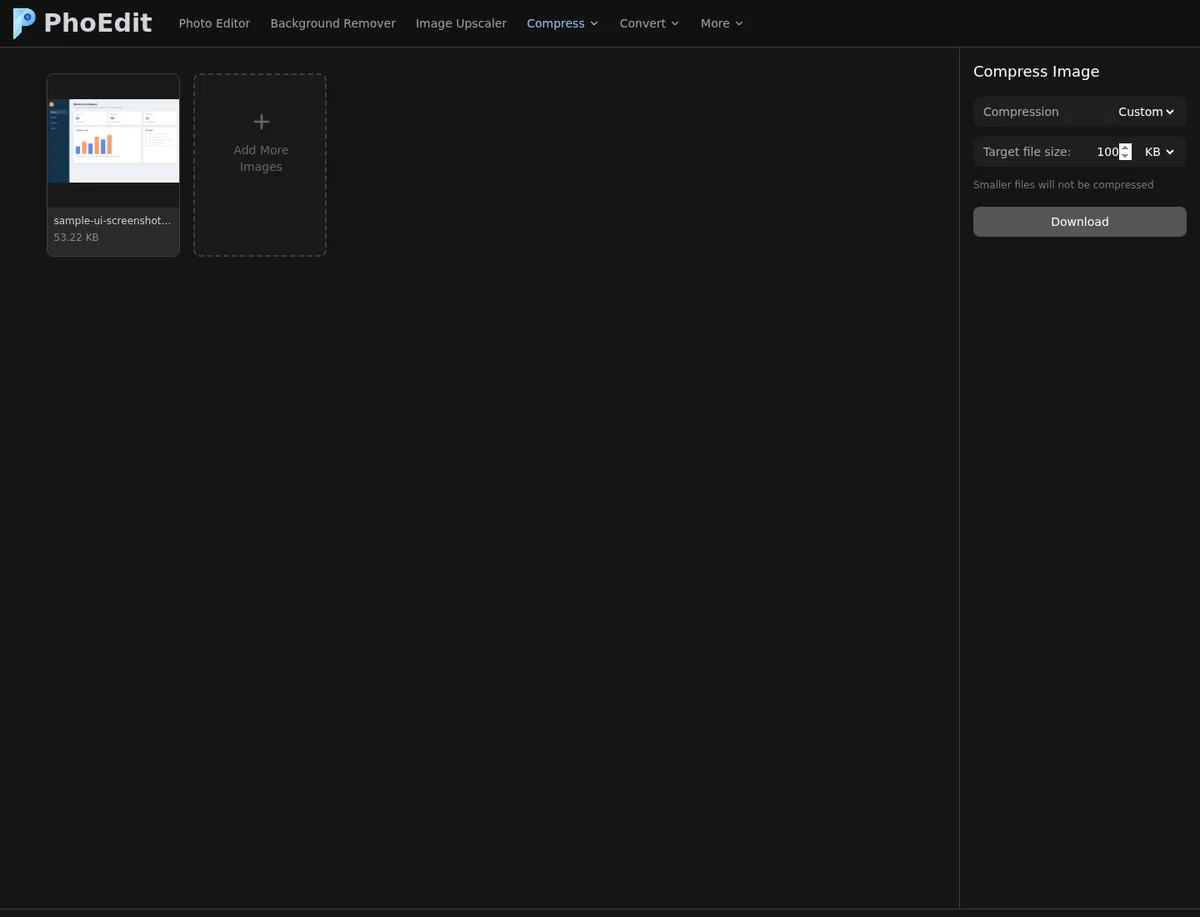
We tested PhoEdit’s Compress Image tool with an original 1536×1024 market photo and a browser-rendered 1440×900 UI screenshot. The test files, outputs, and SHA-256 values are recorded in the project evidence manifest.
What the tests produced
PhoEdit labels the field as KB. For the checks below, 100 KB was evaluated against 102,400 bytes and 200 KB against 204,800 bytes.
| Input | Original | Target | Downloaded output | Pixel dimensions | Result check |
|---|---|---|---|---|---|
| Detailed JPEG photo | 834,049 bytes | 100 KB | 103,325 bytes | 1536×1024 | 925 bytes above 100×1024 |
| Detailed JPEG photo | 834,049 bytes | 200 KB | 202,547 bytes | 1536×1024 | Below 200×1024 |
| PNG UI screenshot | 54,495 bytes | 100 KB | 196,249 bytes | 1440×900 | Larger than both the input and target |
The 200KB photo retained more fine texture in foliage, basket weave, and stone. At 100KB, the same details showed more smoothing and block-like edges when inspected at 100% zoom. Those observations apply to this image; a portrait, flat illustration, or screenshot will behave differently.
The screenshot exposed an important failure case. It was already below the requested target, but the tested build re-encoded it as a high-quality JPEG. The result lost transparency capability, grew to 196,249 bytes, and did not meet the 100KB request. If an input is already small enough, keep the original unless you specifically need a different format.
Steps to target 100KB or 200KB
- Open Compress Image.
- Upload one image first. A one-file test makes the downloaded filename and size easy to verify.
- Choose Custom in the Compression menu.
- Enter
100or200and leave the unit at KB. - Download the result.
- Check its exact size in Finder, File Explorer, or your file manager.
- Open the downloaded image at 100% zoom. Inspect text, thin lines, gradients, hair, foliage, and other fine detail.
- If the destination rejects the file, leave a safety margin instead of repeatedly aiming at the exact limit.
Target-size compression is an iterative search, so an output can land slightly above or below the requested byte count. The destination service may also define “KB” as 1,000 bytes rather than 1,024. A 95KB target is safer than 100KB when a strict form must accept the result.
When to resize first
Compress without resizing when the destination needs the original pixel dimensions—for example, a print workflow or a listing that requires a minimum width.
Use Resize Image first when the source contains far more pixels than the destination can display. A 4,000-pixel photo used in a 900-pixel card carries detail that the page never shows. Reducing dimensions gives the encoder fewer pixels to store and often looks better than forcing a large image through very low JPEG quality.
For the same test photo, resizing to 900×600 produced a 230,163-byte JPEG. Applying PhoEdit’s Medium compression afterward produced a 95,805-byte 900×600 JPEG. The original-dimension Medium output was 243,929 bytes. See Resize vs Compress for the full comparison.
If the target is still missed
Use this order:
- Verify whether the original is already below the limit. If it is, do not re-encode it just to use the tool.
- Reduce the target slightly to create a byte-size safety margin.
- If appearance becomes poor, go back to the original and resize its pixel dimensions.
- For a screenshot with hard text edges, preserve PNG or try WebP rather than forcing a low-quality JPEG.
- Remove unnecessary metadata only if your workflow allows it; PhoEdit’s browser canvas exports do not preserve all original metadata.
- Re-open the final download and check the real file, not only the preview.
Limits of this test
The test covers one detailed photograph and one synthetic UI screenshot in one Chromium build. It does not prove that every input will reach a chosen target. Animated images, very small PNGs, transparent graphics, and already optimized files need separate checks. Compression can also remove EXIF metadata and convert some source formats during browser canvas processing.
The practical rule is simple: a target setting is a request, not a guarantee. Verify bytes, dimensions, format, and visible quality before using the result.