Image compression is always a trade-off: smaller file size vs. visual quality. The good news is you can often cut 30–80% without noticeable loss — and when you really need it, you can push for maximum compression with a controlled workflow.
This guide covers 3 common goals:
- Visually lossless compression (recommended for most images)
- Maximum compression (when file size is the priority)
- Batch compression (compress many images at once — even with mixed formats)
You can do all of this in PhoEdit:
- Compress images: Compress Image
- Convert to JPG (all formats → JPG): Convert to JPG
- Convert to PNG (all formats → PNG): Convert to PNG
PhoEdit’s compressor supports JPG, PNG, WEBP, GIF, TIF, SVG, PSD, HEIC — you can upload them together and compress in one batch.
Before you start: what actually reduces file size?
In practice, there are 3 levers (from biggest impact to smallest):
- Resize dimensions (e.g., 4000px → 1600px) if the image is larger than needed.
- Choose the right format (JPG for photos; PNG for transparency; WebP where supported).
- Adjust compression (quality level or target file size).
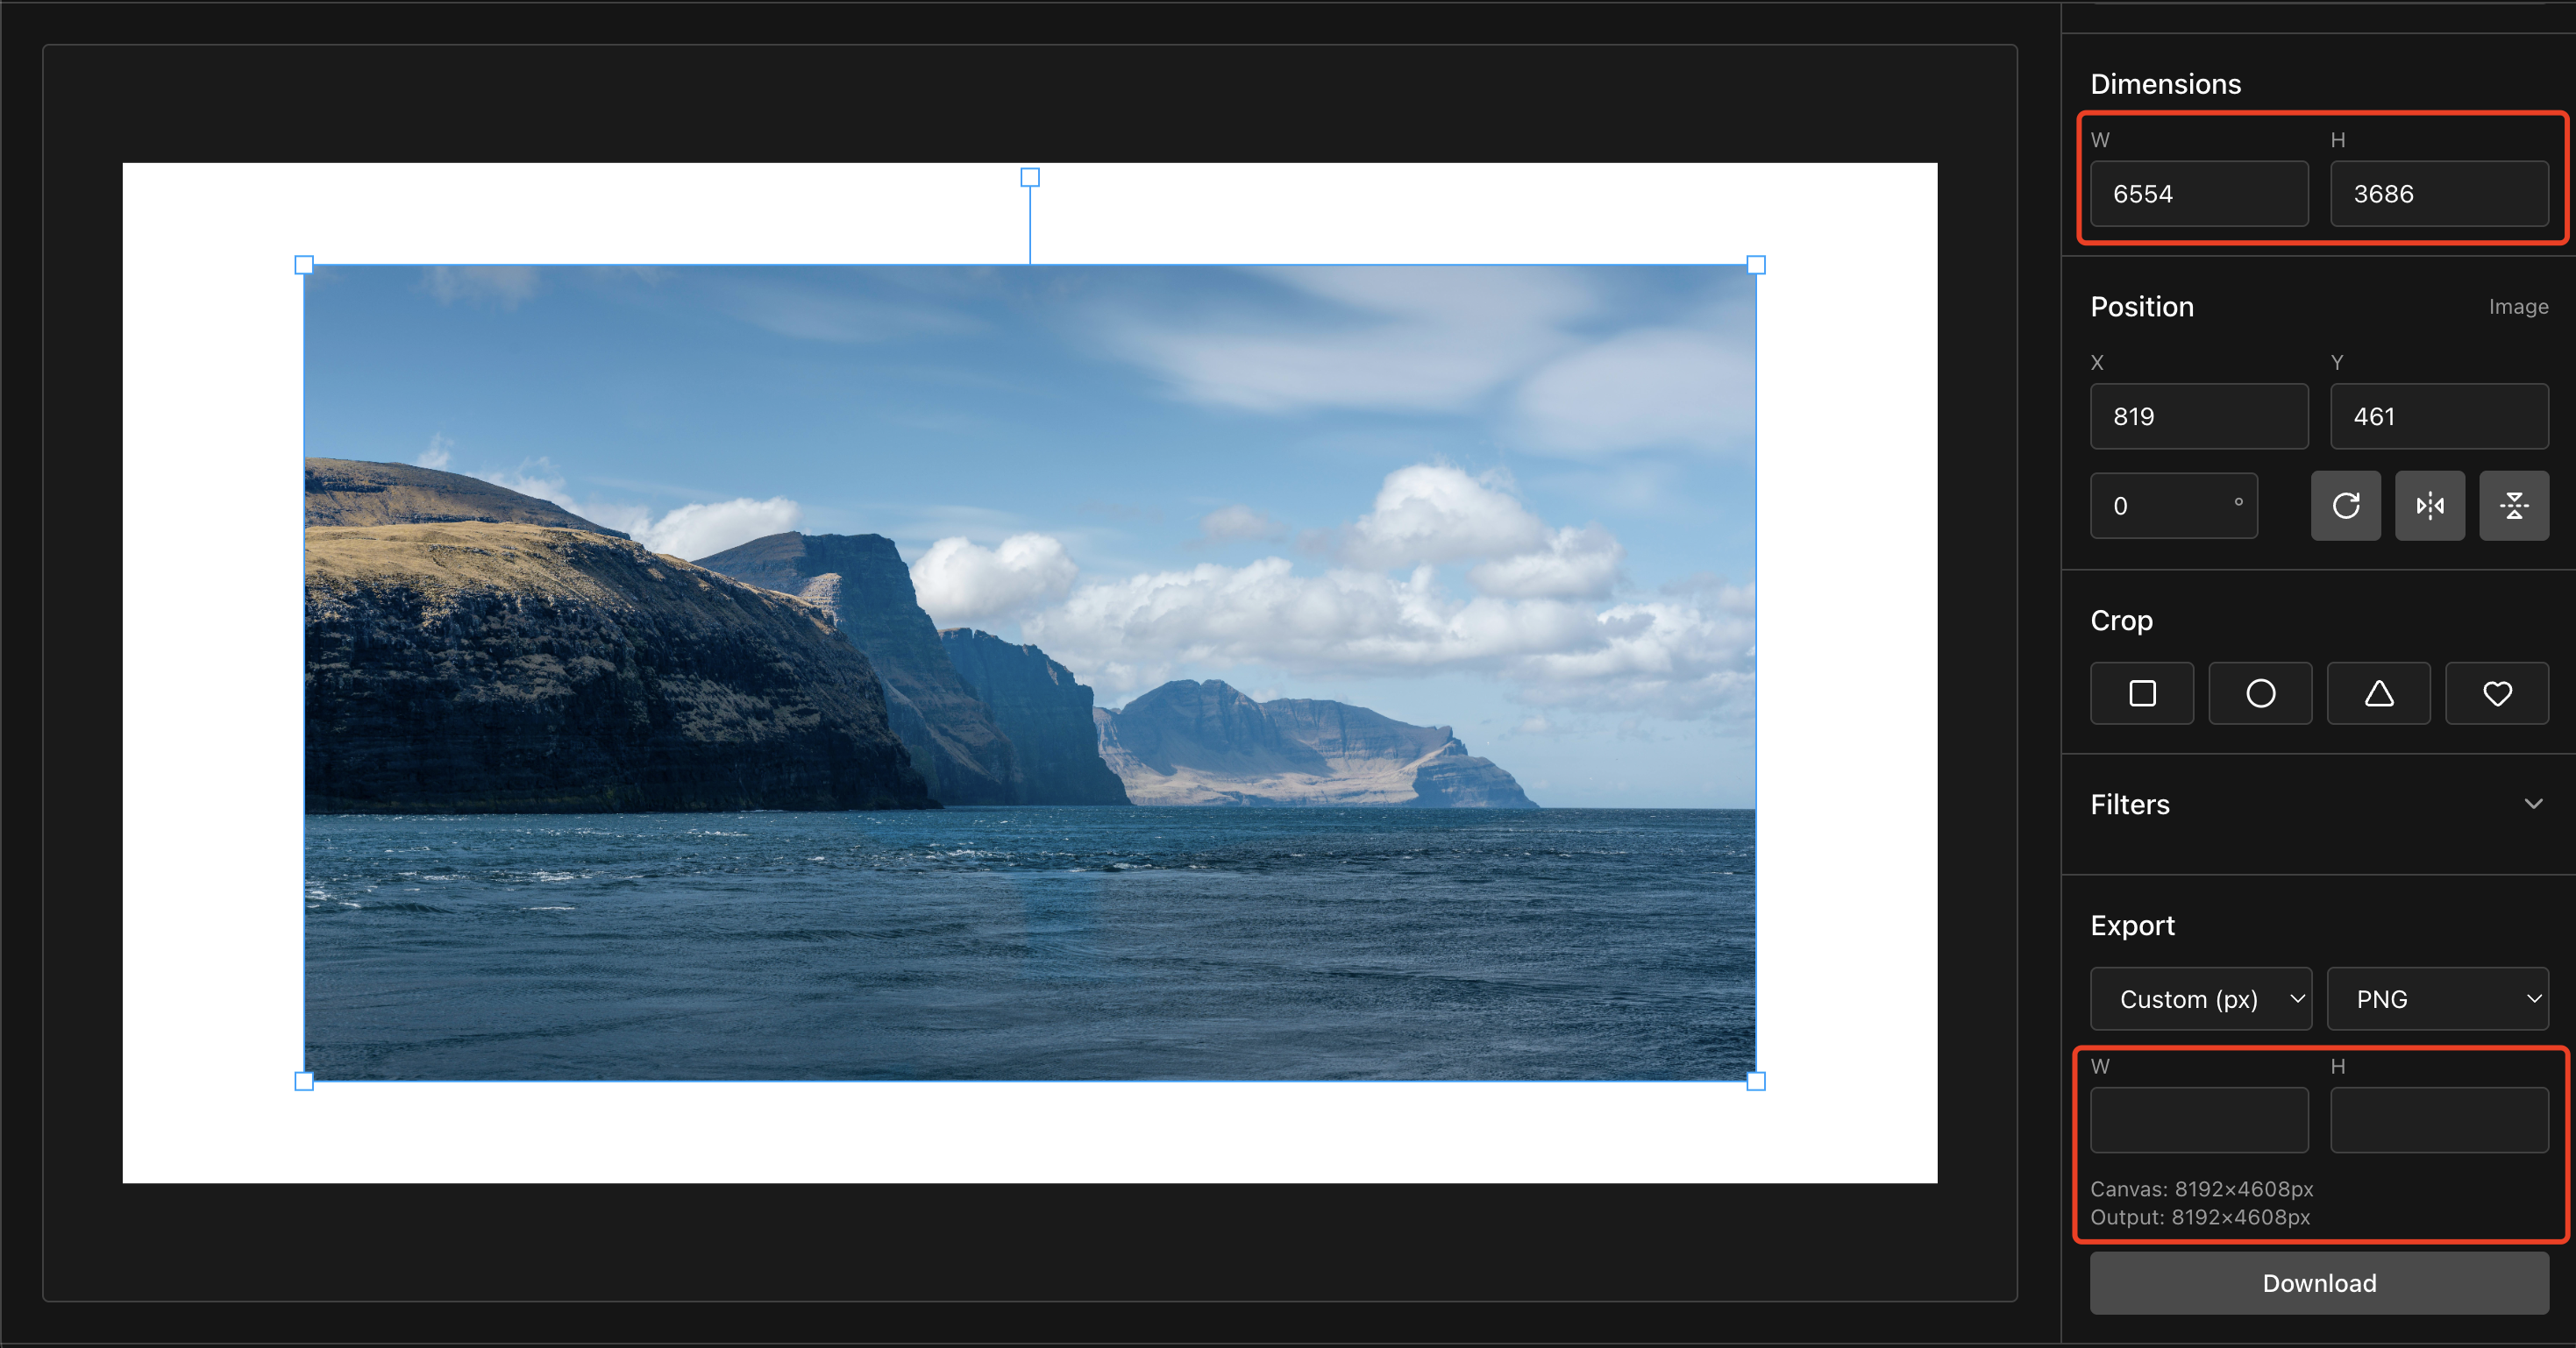
If you need to resize first, do it in the editor, then compress:
Goal 1: Visually lossless compression (recommended)
Use this when you want the image to look the same to most people, but load faster online.
Step-by-step
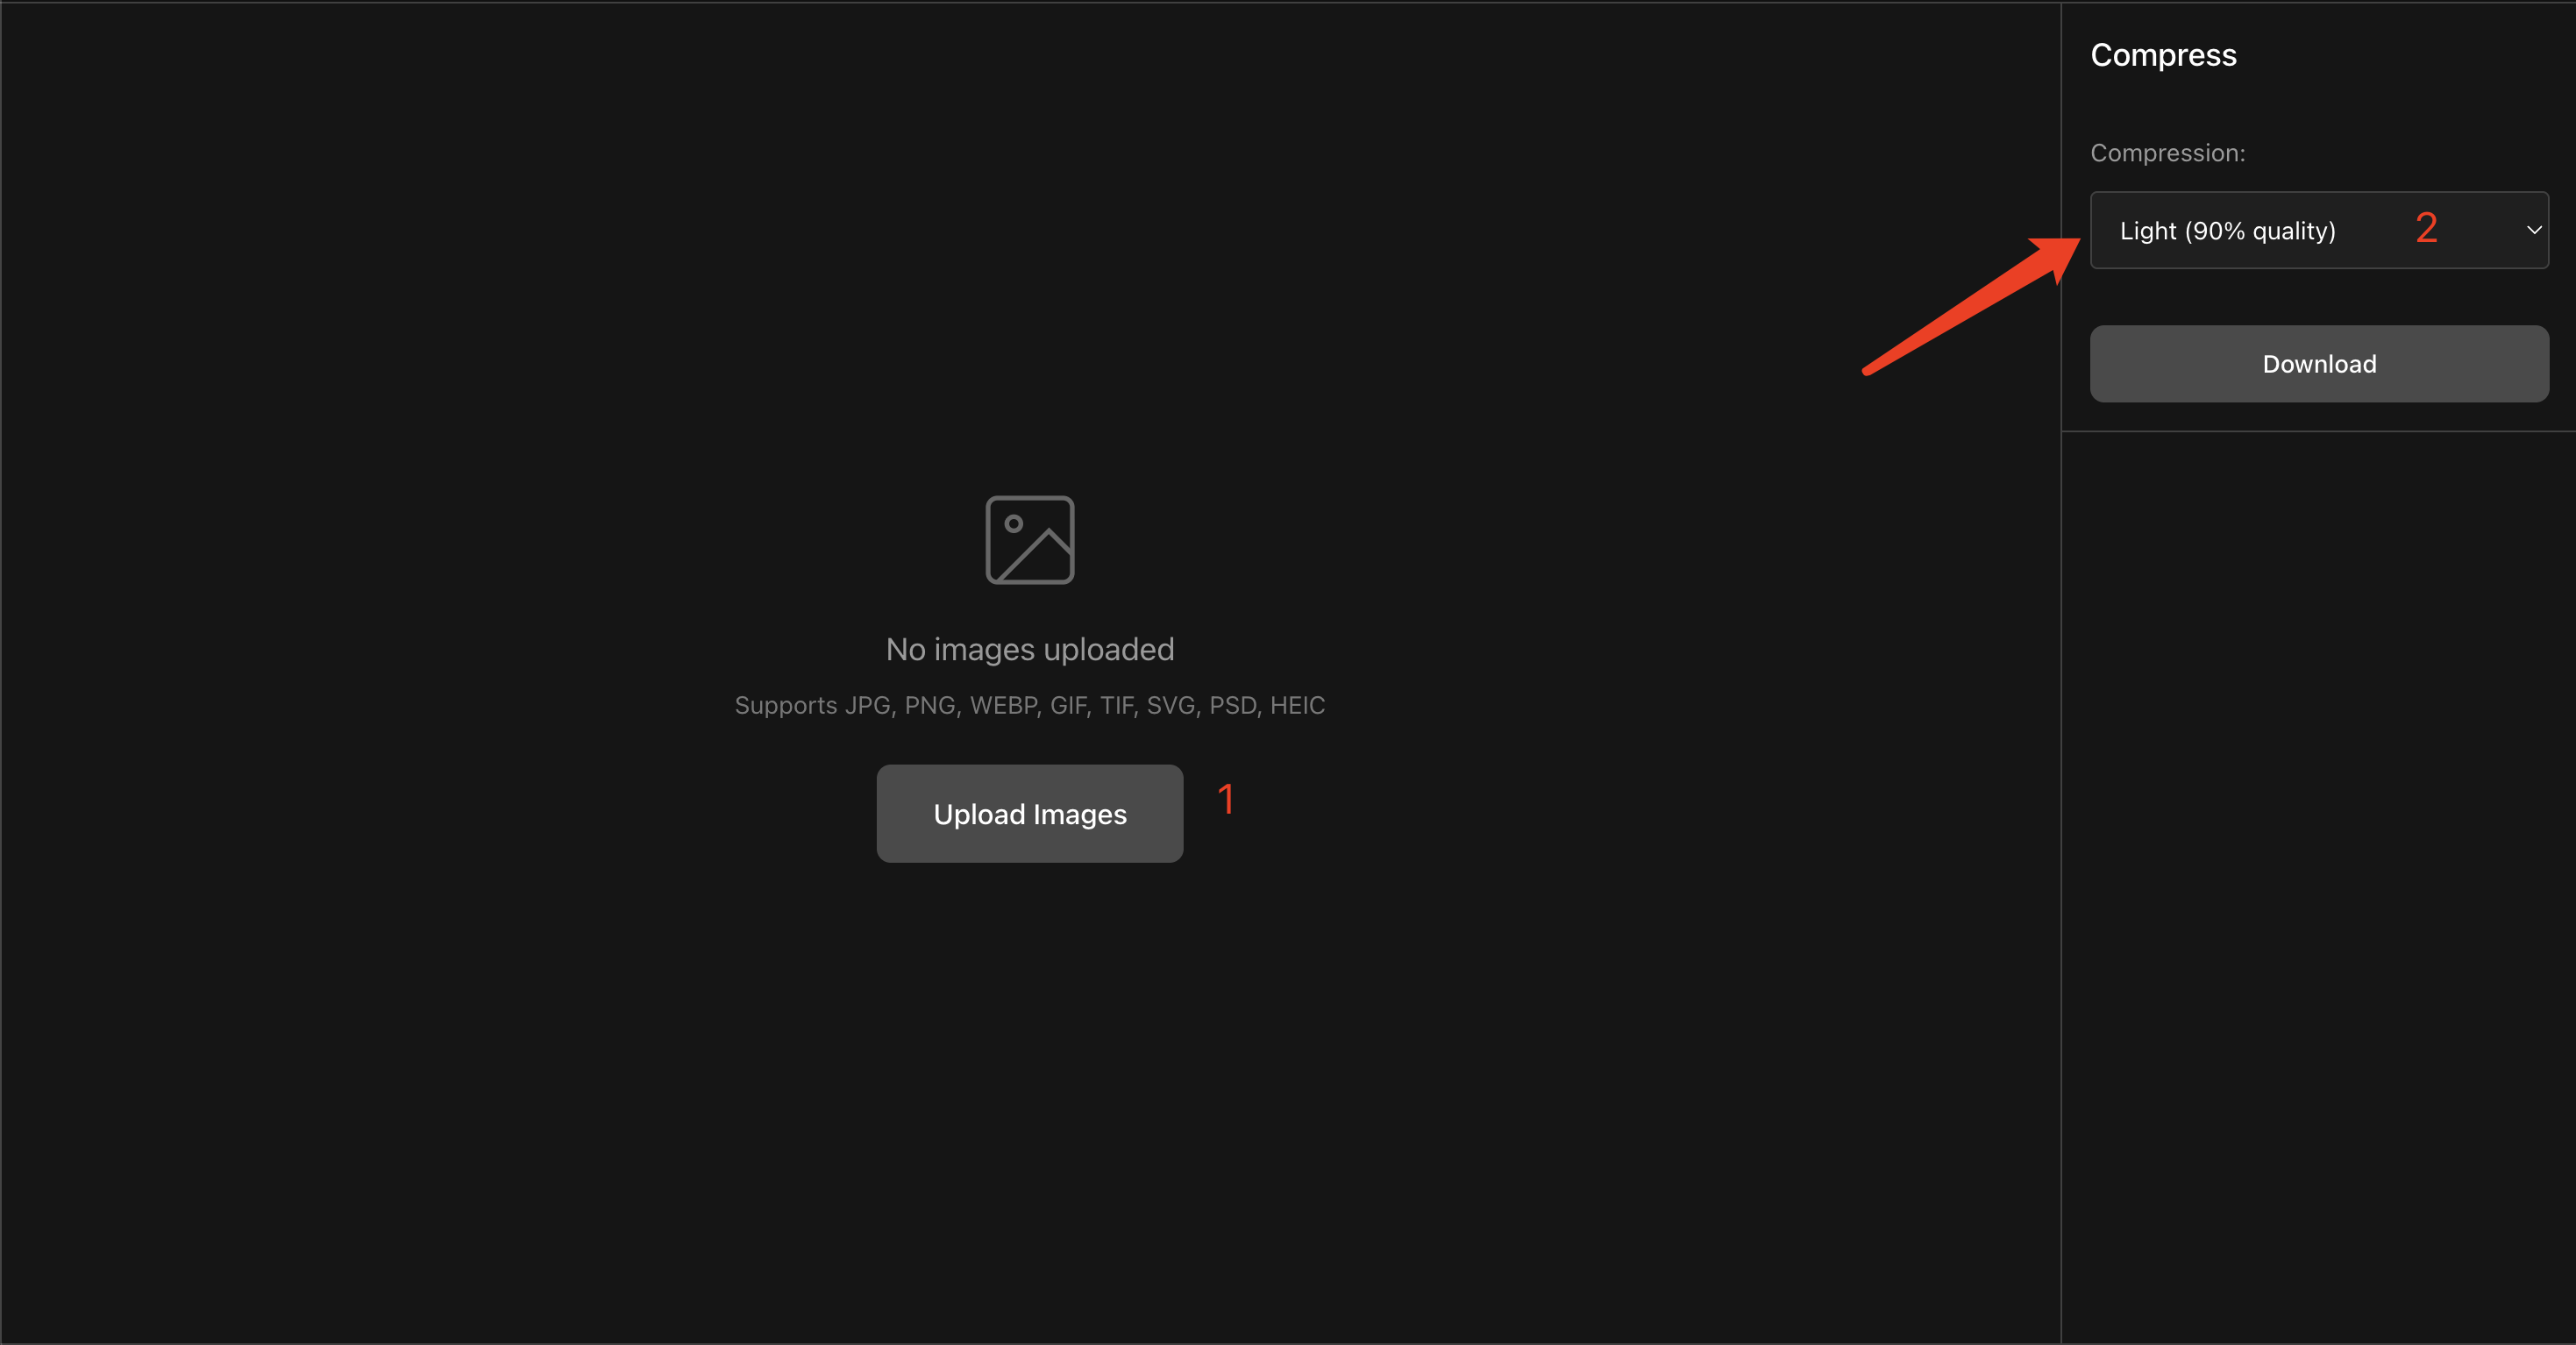
- Open: Compress Image
- Upload your image(s).
- In Compression, choose Light (90%) first.
- Click Download and compare the result.
- If the file is still too large, try Medium (70%) next.
How to check “no visible loss”
Zoom to 100% and look at:
- Text edges (jagged / blocky artifacts)
- Gradients (banding)
- Skin / fine details (smearing)
If you notice artifacts, go one level lighter.
Goal 2: Maximum compression (file size first)
Use this when you have strict size limits (email, forms, messaging apps, slow networks). You’ll usually need a more aggressive setting, and sometimes a smaller dimension.
Option A: Use a stronger quality preset
- Upload your image(s) in Compress Image
- Pick Heavy (50%) or Extreme (30%)
- Download and check quality (especially text and gradients)
Option B (best for “as small as possible”): Custom target file size
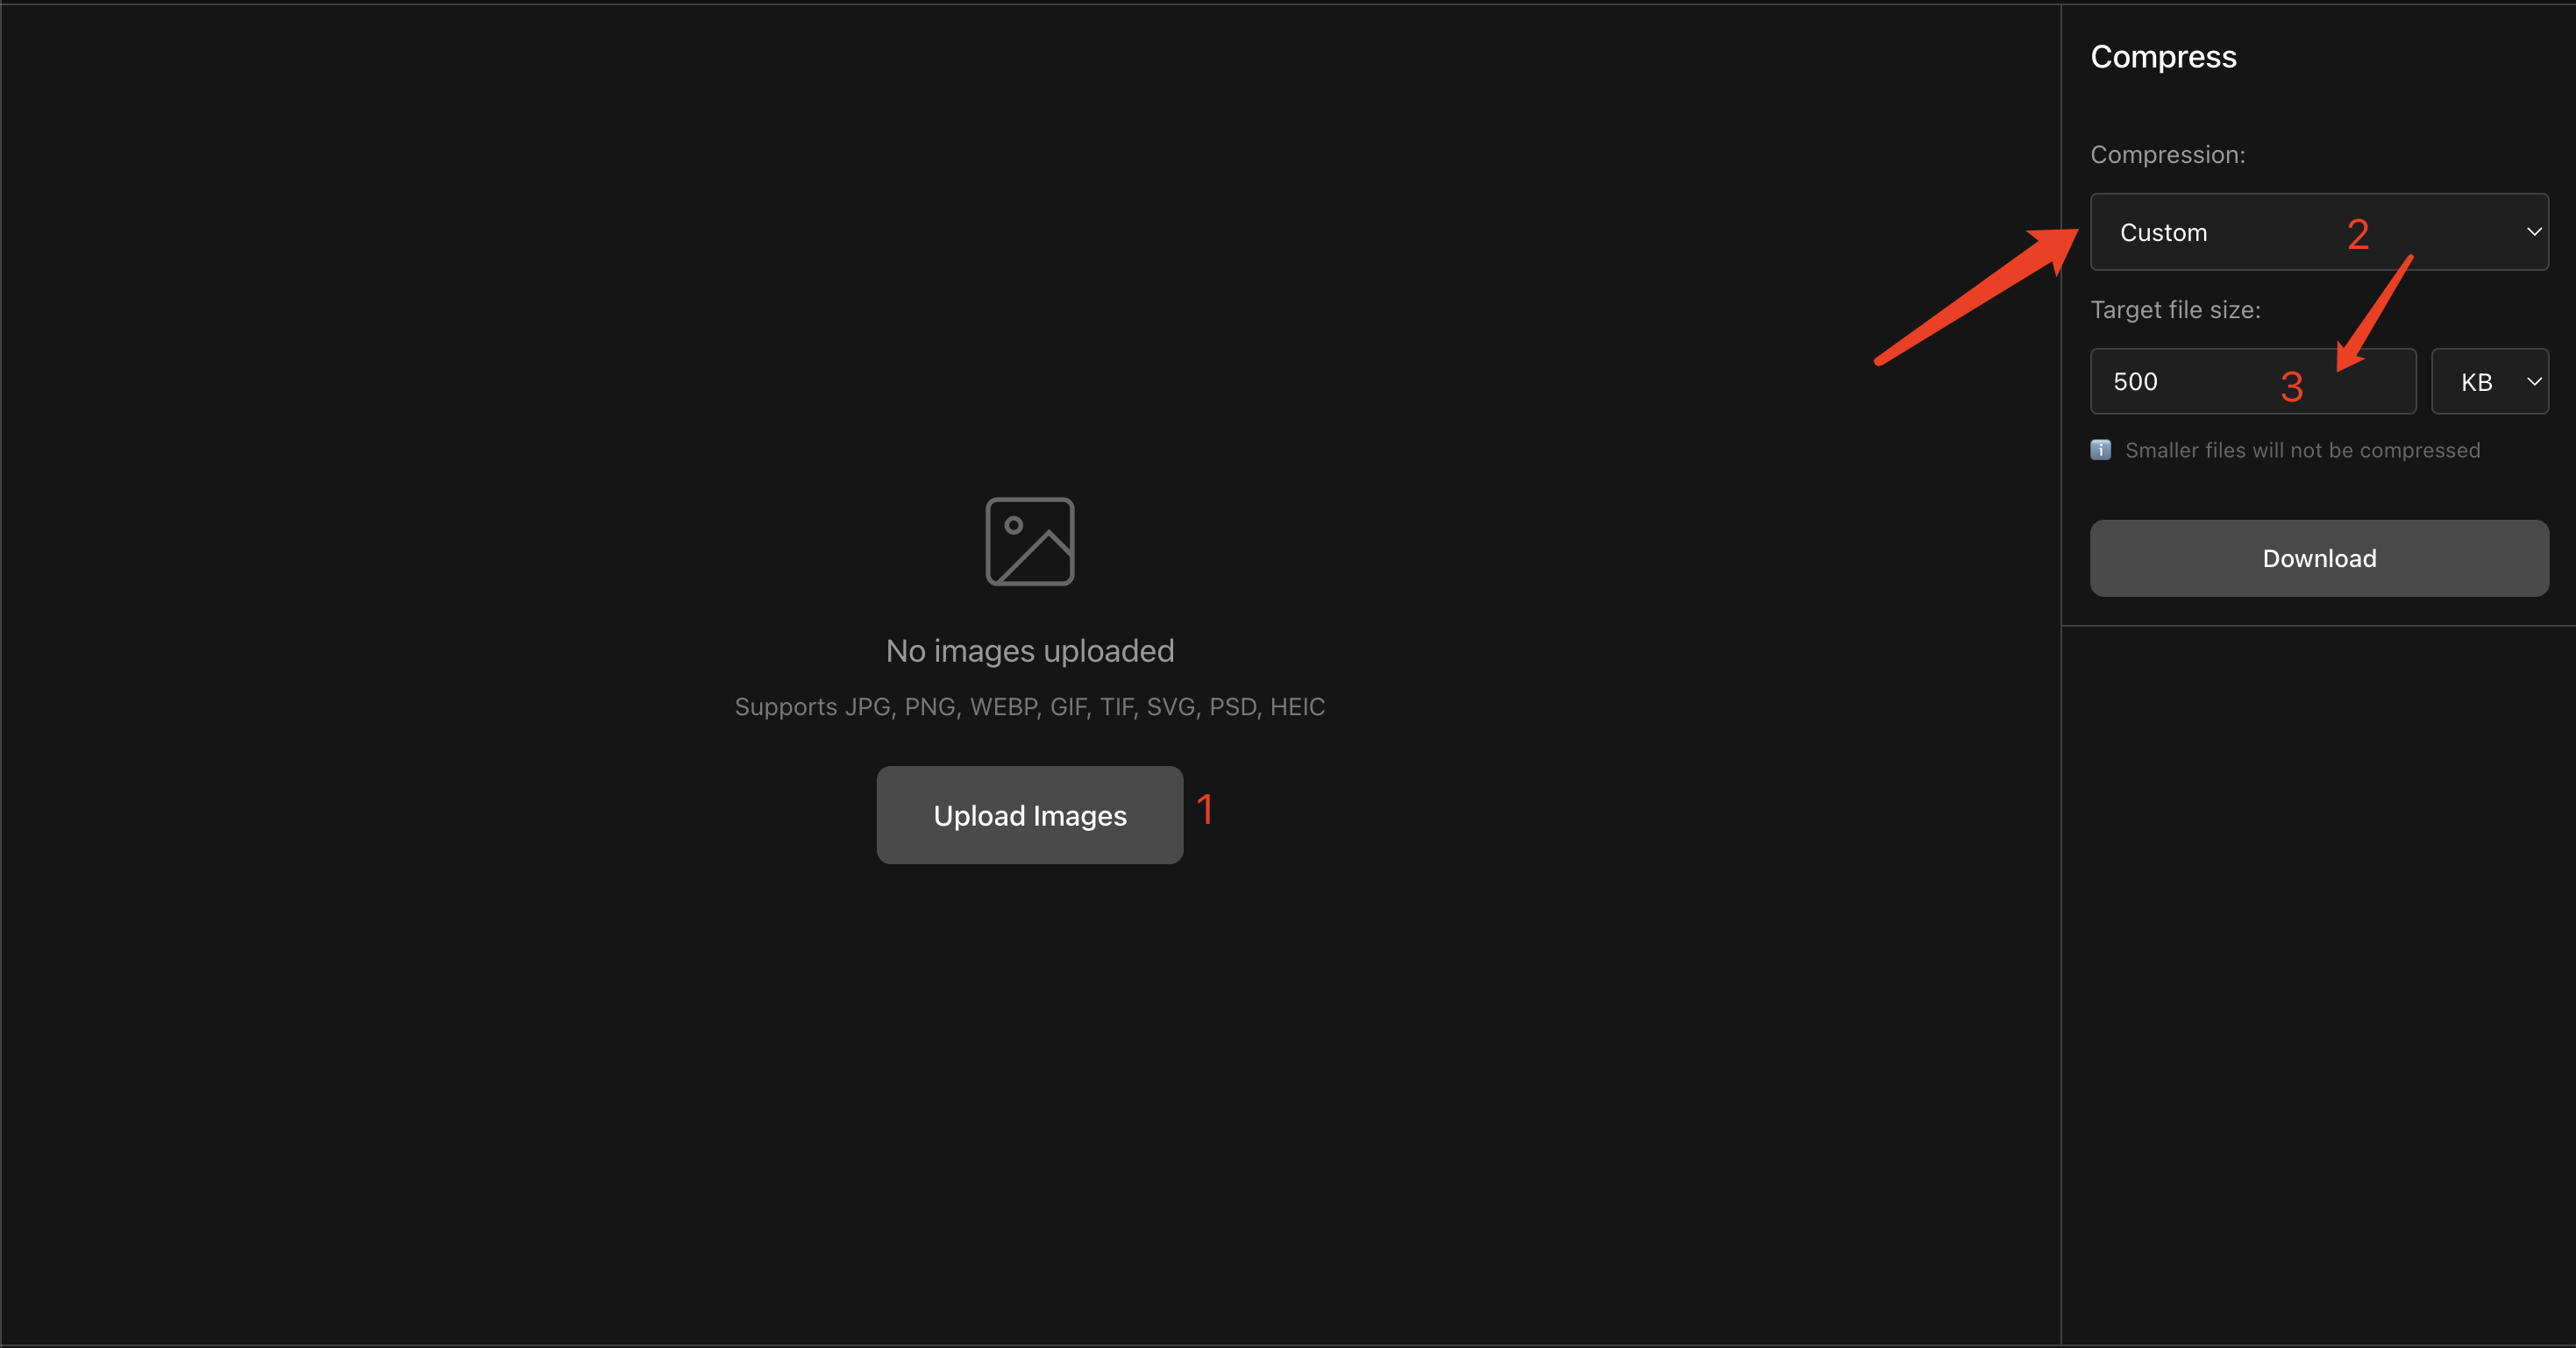
If you have a hard target like “under 300KB”, use Custom:
- In Compression, choose Custom
- Set Target file size (e.g.,
300 KBor1 MB) - Download — PhoEdit will automatically search for the best quality that fits your target size
Tip: a reliable “max compression” workflow
- If the image is larger than needed, resize first (that’s the biggest win).
- Then use Custom target file size to hit your limit.
- If it still can’t reach the target without looking terrible, lower the target expectations or reduce dimensions.
Goal 3: Batch compression (mixed formats)
PhoEdit supports bulk compression — you can upload multiple images at once, even if they’re different formats (PNG + JPG + WEBP + GIF, etc.).
Step-by-step
- Open: Compress Image
- Upload multiple files (mixed formats are OK).
- Choose a compression mode:
- Light/Medium for visually lossless
- Heavy/Extreme for stronger compression
- Custom if you need a target size
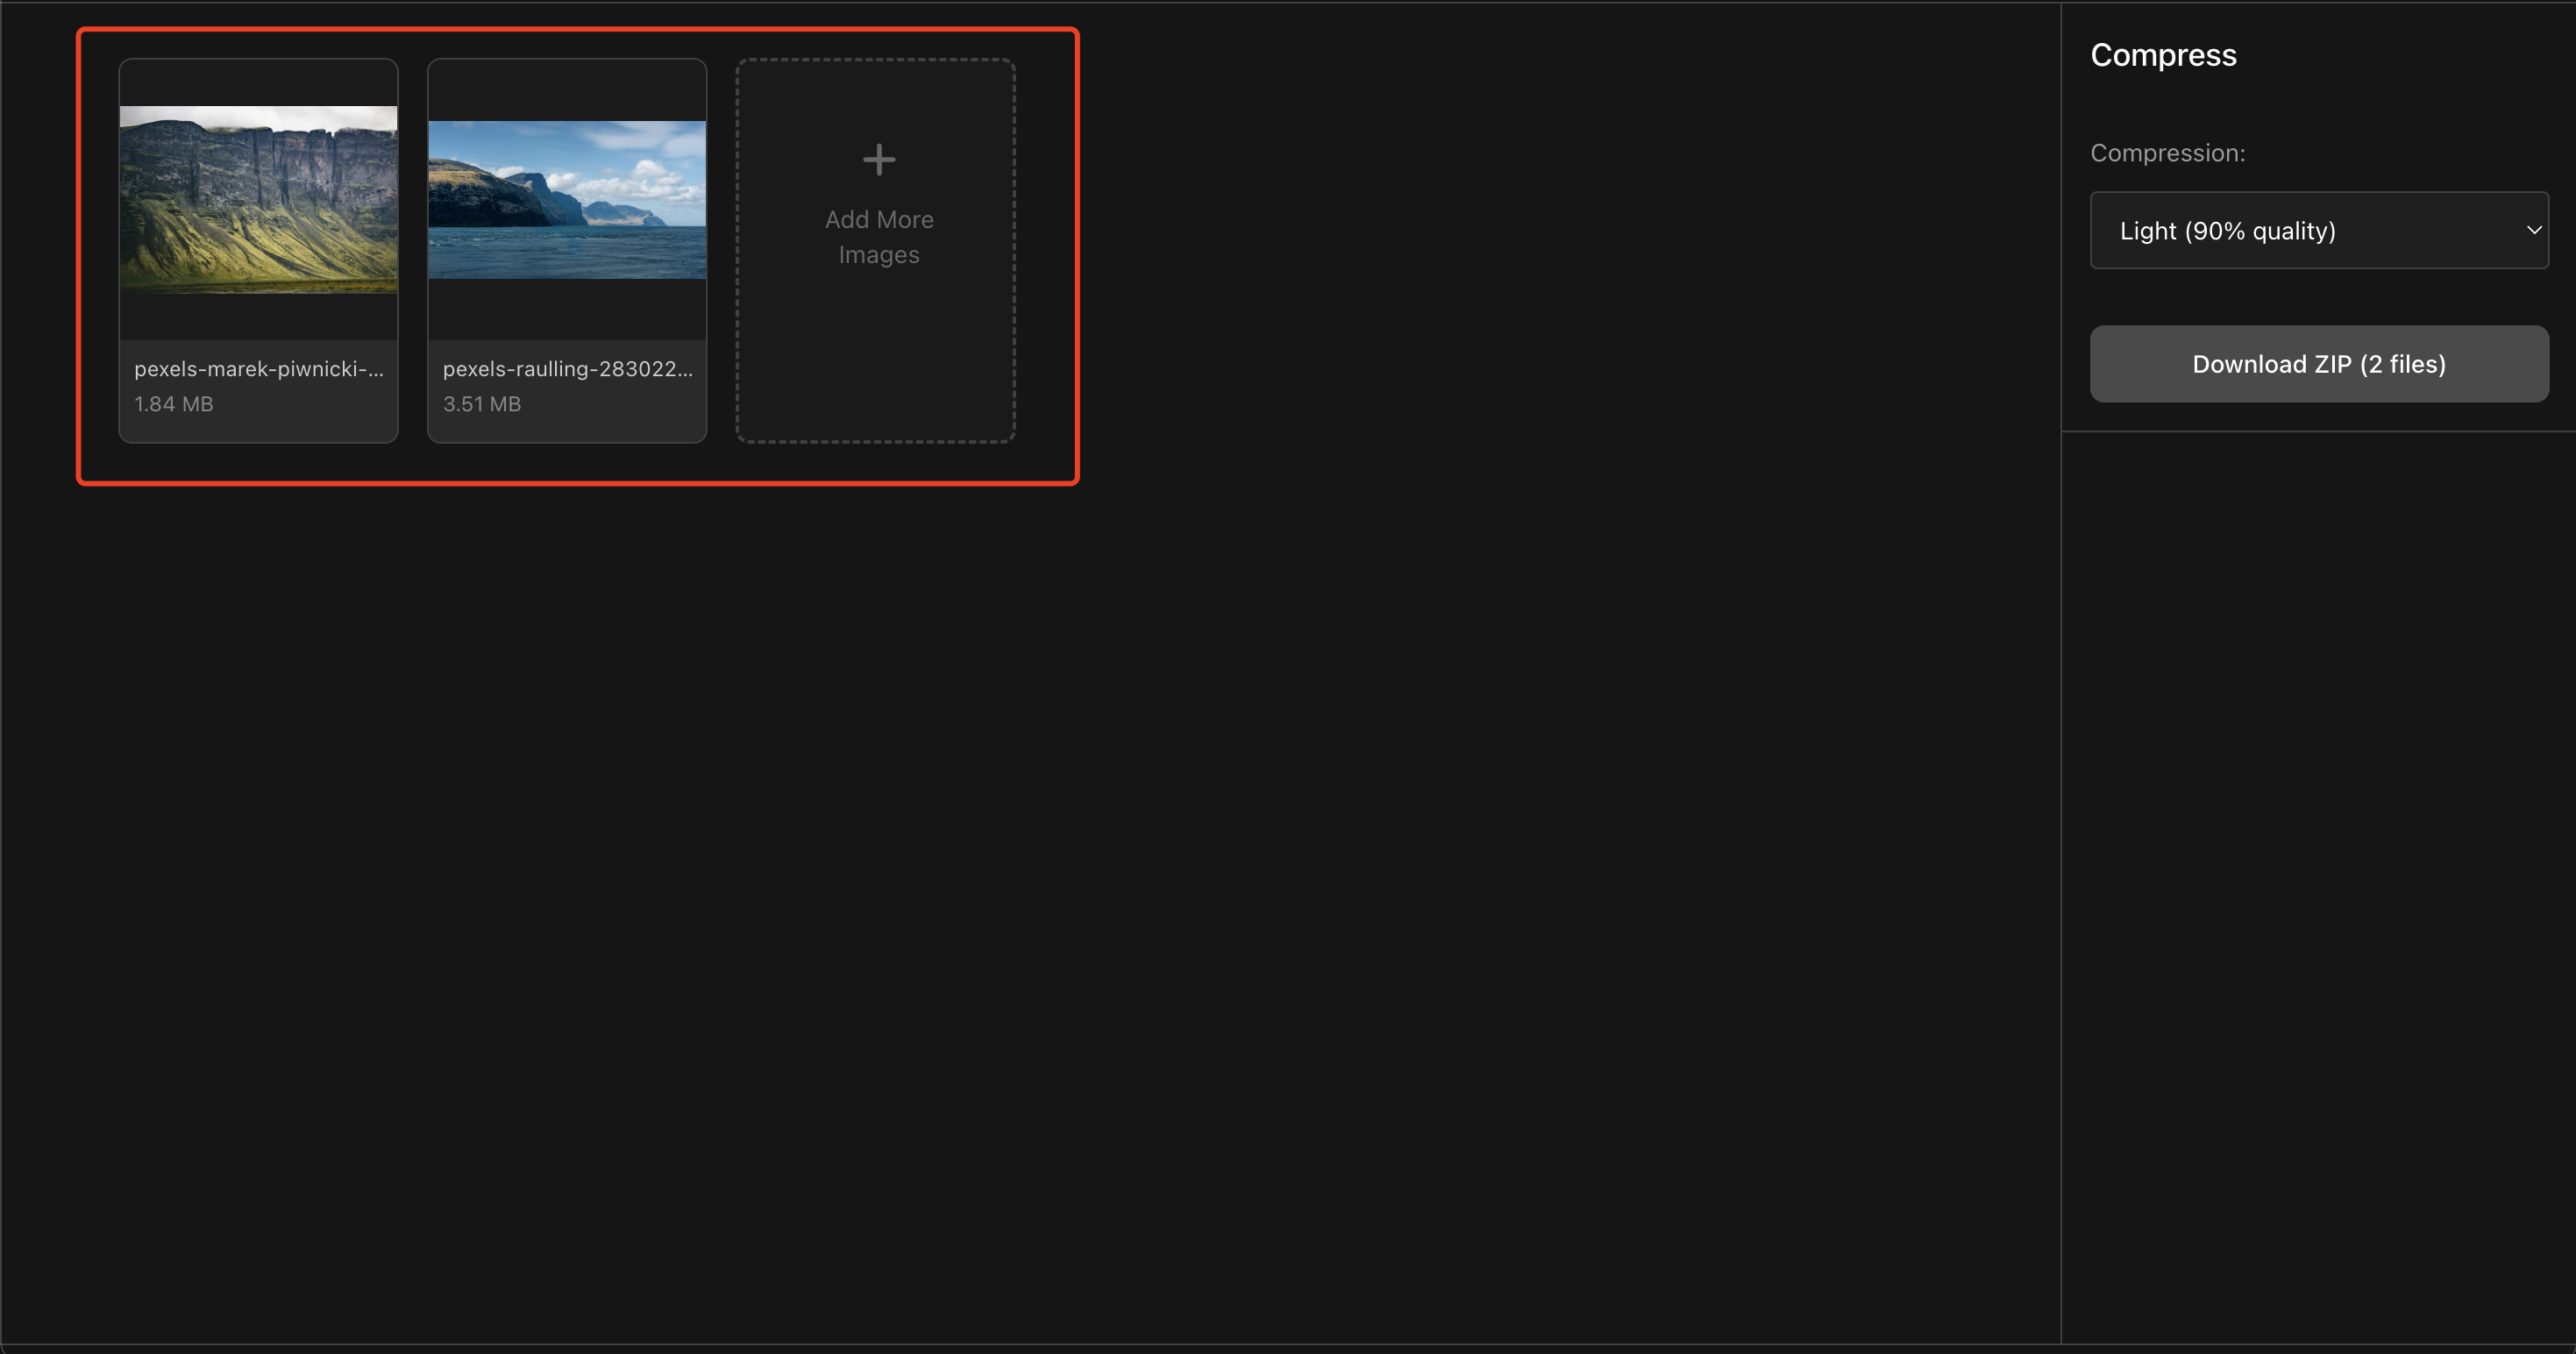
- Click Download
- If you upload multiple files, you’ll get a ZIP download.
Notes about formats (quick and practical)
- Photos usually compress best as JPG
- Transparency usually means PNG
- HEIC is often exported as JPG for compatibility
- SVG/PSD/TIF may be exported as PNG/JPG depending on what’s supported in the browser
If you only need a guaranteed format output (all files → JPG or all files → PNG), use:
FAQ
How much can I compress images without losing quality?
For many photos, Light (90%) or Medium (70%) looks the same to most viewers. If you need the smallest possible file, use Custom target size and verify at 100% zoom.
Can I batch compress mixed formats?
Yes. You can upload a mix of JPG, PNG, WEBP, GIF, TIF, SVG, PSD, HEIC and compress them in one batch.
Will compression change my image dimensions?
Compression changes the file size. Dimensions usually stay the same unless you resize first in an editor.
Want more tools? Try: Photo Editor